Landscape and Portrait Pages in the Same Word Document
By Guccibase · · 7 min read
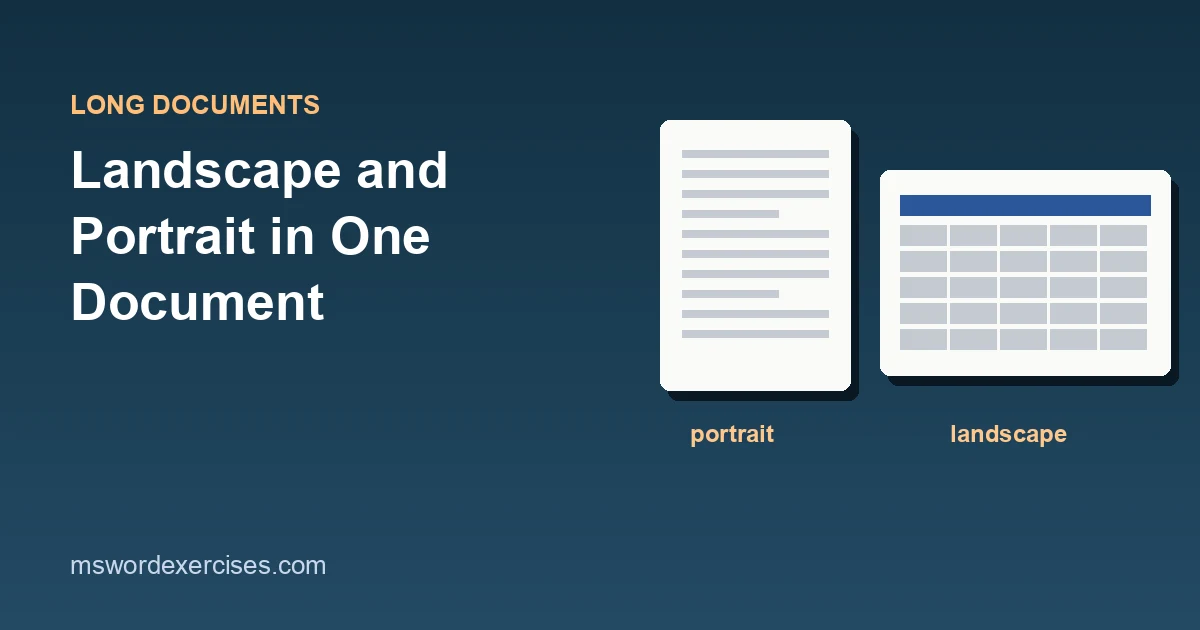
To make one page landscape in an otherwise portrait Word document, select the content that should sit on the landscape page, open the Page Setup dialog, choose Landscape and, in the Apply to box, choose Selected text. Word adds a section break before and after the selection and turns only that part sideways.
Orientation in Word belongs to a section, not to a page. Once that clicks, everything else follows: the quick method creates sections for you, the manual method lets you place them yourself, and headers, footers and page numbers carry on across both. This guide covers both methods in Microsoft 365 Word on Windows, plus what to do on Mac, in Word for the web and on mobile.
Key Takeaways
- Orientation is a section setting. A landscape page in a portrait document needs its own section, with a section break on each side.
- Quickest route: select the content, open Page Setup from the Layout tab, choose Landscape, pick Selected text in the Apply to box, select OK.
- Manual route: Layout > Breaks > Next Page before and after the content, click inside it, then Layout > Orientation > Landscape.
- By default, headers and footers stay linked to the previous section, and page numbering continues unless a section is set to start at a new number.
- Word for the web cannot insert section breaks and the mobile apps change orientation only for the whole document, so set mixed orientation in the desktop app.
Why orientation needs section breaks
Every Word document has at least one section, and page settings such as orientation, margins, paper size and columns apply to a whole section. To mix orientations you need at least three sections: portrait before, landscape in the middle, portrait after.
You can create those sections yourself or let Word create them. For everything else section breaks can do, see the guide to section breaks in Word. Either way, turn on formatting marks with Ctrl+Shift+8 (Show/Hide ¶) so you can see the breaks. Each one appears as a dotted line labelled Section Break (Next Page).
Method 1: Change orientation for selected text (quickest)
Use this when you already have the content (a wide table, a chart, a schedule) in the document. Microsoft's page orientation training page describes the same steps: select Landscape, and in the Apply to box choose Selected text.
- Select the content that should be landscape: drag across the table or paragraphs, including the heading if it belongs on the same page.
- On the Layout tab, select the small dialog launcher arrow in the bottom-right corner of the Page Setup group. (You can also choose Margins > Custom Margins.)
- On the Margins tab of the Page Setup dialog, under Orientation, select Landscape.
- In the Apply to box at the bottom, choose Selected text.
- Select OK.
Word inserts a section break before and after the selection, and only the selected content moves onto landscape pages. Check the result in the Pages view of the Navigation pane (Ctrl+F), which shows thumbnails of every page.
If more pages turned landscape than you expected, the selection probably reached into the paragraph after the table. Undo with Ctrl+Z and select again, stopping at the end of the table.
Method 2: Insert section breaks yourself
Use this when you are setting up the layout before the content exists, or when you want precise control over where each section starts.
- Click at the start of the content that should be landscape (for example, just before the heading of an appendix).
- Select Layout > Breaks and, under Section Breaks, choose Next Page.
- Click at the end of that content and insert another Next Page section break.
- Click anywhere between the two breaks.
- Select Layout > Orientation > Landscape.
When a document has more than one section, the Orientation button changes only the section that holds the cursor. The pages before and after stay portrait.
Use "This point forward" for a landscape appendix
If everything from a certain point to the end should be landscape (a set of wide appendices, for example), you only need one break. Click where landscape should start, open the Page Setup dialog, choose Landscape and, in the Apply to box, choose This point forward. Word inserts a single section break there.
What happens to headers, footers and page numbers?
Each new section starts linked to the previous one (Microsoft's Link to Previous article explains the setting), so headers and footers continue unchanged onto the landscape pages. Page numbering is a separate setting: it continues from the previous section unless that section is set to Start at a particular number.
Two things to check after adding a landscape section:
- Header and footer position. On a landscape page, the header runs along the top of the landscape page, which is the long edge of the paper. That is Word's normal behaviour. If a printed or bound report needs the header on the same physical edge as the portrait pages, that takes manual workarounds beyond this guide.
- Different content per section. If the landscape section needs a different header (for example "Appendix A"), double-click the header area, and on the Header & Footer tab turn off Link to Previous for that section before you edit it. Otherwise your change also appears in the sections linked to it.
The guide to headers and footers in Word covers linked headers in more depth.
How to undo a landscape section
To return the pages to portrait, click inside the landscape section and choose Layout > Orientation > Portrait. The section breaks stay, which does no harm.
To remove a break as well, turn on Show/Hide ¶, click just before the Section Break (Next Page) line and press Delete. Be aware that, as Microsoft's delete a section break article explains, the two sections then merge and take the formatting of the section that came after the break. In practice, the text above the break takes on the layout of the section below. Delete one break at a time and check the page thumbnails after each.
Can you have portrait and landscape on the same page?
No. Orientation applies to whole pages: even a Continuous section break starts a new page when the orientation changes, so one physical page cannot be half portrait and half landscape. If you need a wide element on a portrait page, the alternatives are:
- Make the table fit the page width with AutoFit > AutoFit Window on the Table Layout tab, and reduce the font size if the columns are still cramped.
- Rotate text in narrow header cells with Text Direction on the Table Layout tab.
- Put the wide element on its own landscape page and refer to it from the text.
For long tables that run over several pages, repeating the header row keeps them readable whichever orientation you choose.
Mac, Word for the web and mobile
| Platform | Whole-document orientation | One landscape section | How |
|---|---|---|---|
| Word for Windows | Yes | Yes | Method 1 or Method 2 |
| Word for Mac | Yes | Yes | Method 2: insert breaks from Layout > Breaks, click in the middle section, then Layout > Orientation > Landscape |
| Word for the web | Yes, from the Layout tab | No | Open the file in the desktop app and set it there |
| Word mobile apps | Yes | No | Use the desktop app |
Word for the web cannot insert section breaks, which is why a single landscape page is not possible in the browser; a Microsoft MVP confirms this in an answer on single-page orientation in Word for the web. Open the document in the desktop app (Editing > Open in Desktop App), add the section and orientation there, and save. For the mobile apps, Microsoft's mobile orientation article says you can't use a different orientation for certain pages or sections, only for the whole document.
Troubleshooting mixed orientation
The whole document turned landscape. The cursor was in a one-section document when you used Orientation. Undo, then insert section breaks first or use Selected text.
A blank page appears before or after the landscape page. There is an empty paragraph or a manual page break next to a section break. Turn on Show/Hide ¶ and delete the extra paragraph mark or page break, not the section break.
The table title ended up on the portrait page. The section break sits between the title and the table. Undo, select the title together with the table and apply Selected text again, or cut the title and paste it just after the section break, at the top of the landscape page.
Page numbers restarted at 1 on the landscape page. That section has Start at set to a number. Open Insert > Page Number > Format Page Numbers while in that section and choose Continue from previous section. To restart numbering on purpose, see how to start page numbers on page 2 or page 3.
Practise mixed orientation
Section breaks are easier to trust once you have used them a few times. On Word Exercises you practise on real .docx files in your browser, with automatic checks:
- Make a wide schedule landscape (free)
- Make one section landscape for a wide table (Pro)
- Remove an accidental section break (Pro)
The lesson on section breaks for different page setups explains the reasoning behind each step. For the bigger picture, the automatic table of contents guide is the hub for long documents, and how to format a report in Word shows where a landscape appendix fits in a finished report.
Steps in this guide were checked against the Microsoft Support pages linked above for Microsoft 365 Word on 5 November 2026. If a menu has moved or something here is wrong, tell us through the help page.
Related posts
Written by Guccibase; see how these guides are written. Word Exercises is independent and not affiliated with Microsoft. Menu names follow Microsoft 365 as of 2026.