Section Breaks in Word: Different Headers, Orientation and Page Numbers
By Guccibase · · 8 min read
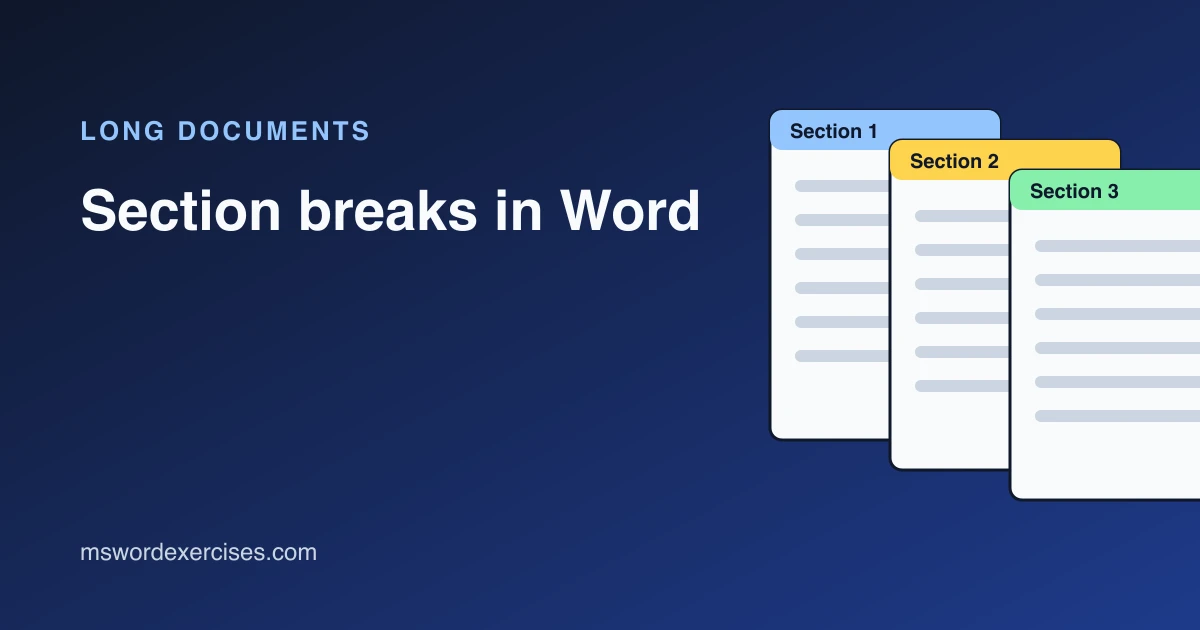
A section break splits a Word document into parts that can each have their own page layout. Without one, the whole document is a single section, so a change to margins, orientation, headers or page numbering applies everywhere. With one, you can make a single page landscape, give the introduction Roman numerals, or drop the header from the cover page while the rest of the document keeps it.
This guide explains the four types of section break, how to insert and see them, the three jobs people use them for most, and how to remove one without wrecking the layout. Steps are for Microsoft 365 Word on Windows, with Mac and Word for the web differences noted.
Key Takeaways
- A section break lets part of a document have different margins, orientation, columns, headers, footers and page numbering.
- Insert one from Layout > Breaks and choose Next Page for most jobs, or Continuous to change columns on the same page.
- Headers and footers in a new section start linked to the previous section. Turn off Link to Previous before you change them.
- Deleting a section break merges two sections, and the merged section takes the formatting of the section that came after the break.
- Word for the web cannot insert section breaks; use Open in Word for this job.
What does a section break do?
A section break marks where one set of page settings ends and the next begins. Microsoft's guide to inserting a section break says each section can be formatted separately, and gives columns, headers and footers, and page borders as examples. In practice the settings that can differ between sections are:
- margins, paper size and orientation
- the number of columns
- headers and footers, including a different first page in each section
- page number format and starting number
A page break is different. It only pushes text onto the next page; everything after it still belongs to the same section. That is why the header controls you need (such as Link to Previous) stay greyed out when a document contains page breaks but no section breaks.
The four types of section break
Word offers four section breaks under Layout > Breaks. All four start a new section; they differ only in where the new section begins.
| Type | Where the new section starts | Typical use |
|---|---|---|
| Next Page | On the next page | Different headers, page numbers or orientation |
| Continuous | On the same page | Switching from one column to two mid-page |
| Even Page | On the next even-numbered page | Printed books where a part must start on a left-hand page |
| Odd Page | On the next odd-numbered page | Chapters that must start on a right-hand page |
Microsoft's example for the last two: a break at the end of page 3 starts the new section on page 4 with Even Page, or on page 5 with Odd Page. Word adds a blank page where needed to make that happen.
How to insert a section break
Word for Windows:
- Click at the exact point where the new section should begin. For a new page, this is usually at the start of the heading that should open the section.
- Go to Layout > Breaks.
- Under Section Breaks, choose Next Page (or another type).
Word for Mac: click where the new section should begin, then choose Layout > Breaks > Next Page (or another section break type).
Word for the web: you can insert page breaks but not section breaks. Microsoft's advice is to select Open in Word, add the break in the desktop app, and save; the file stays in its original location.
See the breaks you have inserted
Section breaks are invisible in normal editing. Select Home > Show/Hide ¶ (or press Ctrl+Shift+8, per Microsoft's shortcut list) to show formatting marks. Each break appears as a double dotted line labelled, for example, Section Break (Next Page). Leave the marks on while you work with sections; it is much easier to see which section the cursor is in.
Different headers and footers in each section
A common reason to use section breaks: a cover page with no header, a report body with the report title in the header, an appendix with "Appendix" in the header.
When you add a section break, the new section's header and footer are linked to the previous section. That is why changing a header in one section often changes it everywhere. Microsoft's article on Link to Previous explains that each header or footer is linked to the same type in the previous section, and that sections are linked by default.
To give a section its own header or footer, follow Microsoft's steps for changing the header or footer on a single page:
- Click where the new section should start and insert Layout > Breaks > Next Page.
- Double-click the header (or footer) area of the new section. The Header & Footer tab opens.
- Select Link to Previous so it is no longer highlighted.
- Edit the header, or choose Header > Remove Header.
- Repeat for the footer if it should change too; headers and footers are linked separately.
- Select Close Header and Footer or press Esc.
Two things catch people out. First, if you turn Link to Previous back on, Word replaces the section's header with the previous one, so anything you typed there is lost. Second, a first-page header and an odd- or even-page header are each linked separately to the same type in the previous section. For a full walkthrough of these options, see Headers and footers in Word: a practical guide.
A landscape page in a portrait document
Wide tables and charts often need one landscape page in the middle of a portrait report. There are two ways to do it, summarised here; the guide to landscape and portrait pages in the same document covers them in more detail.
Let Word insert the breaks for you (Windows). Microsoft's guide to changing page orientation describes this method:
- Select the content that should be on the landscape page, such as the wide table.
- On the Layout tab, open the Page Setup dialog box (the small arrow in the corner of the Page Setup group).
- Choose Landscape, then set Apply to to Selected text, and select OK.
Word puts section breaks before and after the selection automatically.
Insert the breaks yourself. Put a Next Page section break before the wide content and another after it. Click inside the middle section and choose Layout > Orientation > Landscape. Because orientation is a section setting, only that section turns.
Check the headers and footers afterwards: a landscape section keeps its header across the long edge of the page. Because Word for the web cannot insert section breaks, it cannot turn a single page landscape either. Our page setup, breaks, sections and columns module has more on orientation, and the Pro exercise Make one section landscape for a wide table gives you a real document to fix. If you are new to orientation, start with the free exercise Make a wide schedule landscape.
Different page numbers in each section
Theses and reports often number the front matter i, ii, iii and restart the body at 1. That needs a Next Page section break between the two parts, then:
- Double-click the footer of the body section and turn off Link to Previous.
- Click in the front-matter footer and, on the Header & Footer tab, select Page Number > Format Page Numbers and choose i, ii, iii under Number format.
- Click in the body footer, open Format Page Numbers again, and set Start at to 1.
Microsoft's article on different page numbers in different sections has the full steps for Windows and Mac. If all you need is for numbering to begin after a cover page and contents page, How to start page numbers on page 2 or page 3 walks through that case.
Columns on part of a page
To run a newsletter story in two columns under a full-width title, use Continuous section breaks: one after the title and one after the story. Click in the middle section and choose Layout > Columns > Two. The continuous breaks keep everything on the same page. The lesson on columns with continuous sections covers this layout.
How to delete a section break
- Select Home > Show/Hide ¶ to show the break.
- Click just before the Section Break line.
- Press Delete.
Before you press Delete, know what happens next. Microsoft's article on deleting a section break explains that Word combines the text before and after the break into one section, and the combined section uses the formatting of the section that followed the break. So if the section after the break is landscape, the pages before it turn landscape too, and their headers change to match.
If what you really want is for the headers to match again, you may not need to delete the break at all: turning Link to Previous back on joins the headers and keeps the layout. The same Microsoft article notes that Word for the web displays section breaks but cannot remove them, so use the desktop app. To practise a clean removal, try the Pro exercise Remove an accidental section break.
Troubleshooting section breaks
- Link to Previous is greyed out. The cursor is in the first section, or the document has no section break. Insert one, then click in the header of the second section.
- A blank page appears. An Odd Page or Even Page break is doing its job, or a Next Page break sits right after a manual page break. Show formatting marks and delete the extra break.
- The header changed everywhere. The section is still linked. Undo, turn off Link to Previous, and edit again.
- The table of contents shows the wrong page numbers after you restart numbering. Update it with References > Update Table, as covered in How to create an automatic table of contents.
Practise section breaks on a real document
Section breaks make sense quickly once you have seen the formatting marks and toggled Link to Previous a few times. Work through the lesson on section breaks for different page setups, then try the exercises linked above or the section breaks practice page.
These steps were checked against Microsoft Support documentation for Microsoft 365 Word on 5 November 2026.
Related posts
Written by Guccibase; see how these guides are written. Word Exercises is independent and not affiliated with Microsoft. Menu names follow Microsoft 365 as of 2026.