Tables in Word: Create, Format and Repeat Header Rows
By Guccibase · · 8 min read
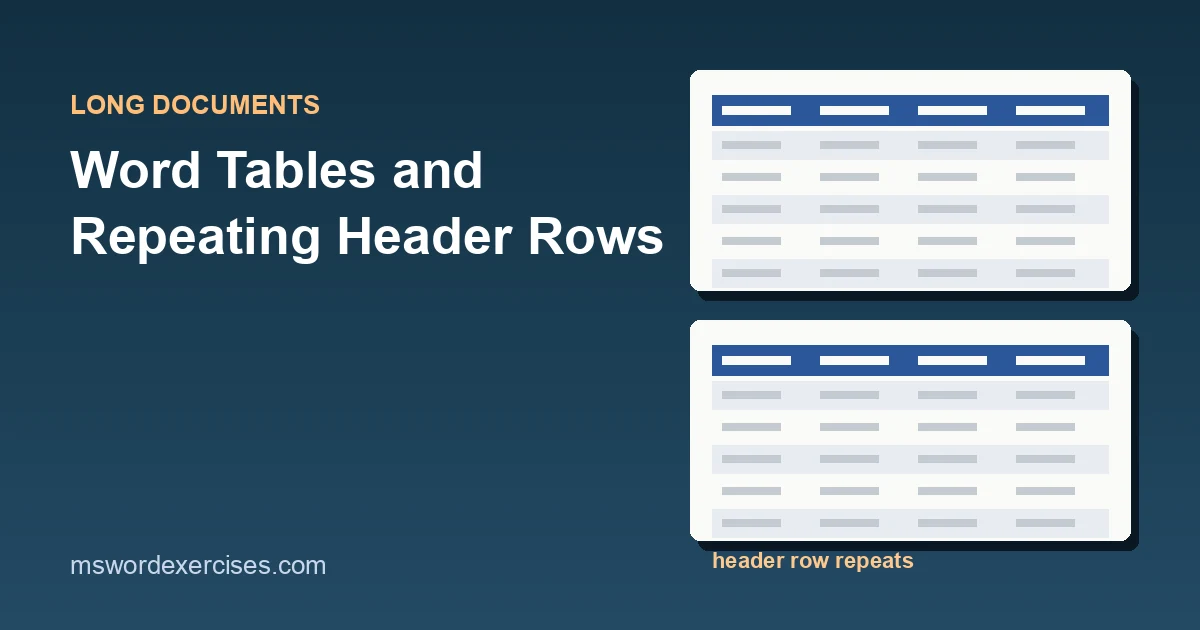
To repeat a table's header row on every page in Word, click in the header row, open the Table Layout tab and select Repeat Header Rows in the Data group. Word then shows that row at the top of each page the table runs onto, and it updates everywhere when you edit the original.
Repeating the header is the last step of building a good table. This guide starts at the beginning: creating a table, moving around it, adding and removing rows and columns, applying a consistent style, and then making long tables readable in print and for screen reader users. Steps are for Microsoft 365 Word on Windows, with notes for Mac and Word for the web.
Key Takeaways
- Insert a table from Insert > Table: drag across the grid, choose Insert Table for exact sizes, or Convert Text to Table for tab-separated text.
- Format every table the same way with a style from the Table Design tab. The Header Row check box there changes the formatting only.
- To repeat the header on each page, select the header row (it must include the first row) and choose Table Layout > Repeat Header Rows.
- Repeated headers show only in Print Layout and print. They stop working after a manual page break inside the table or when the table is set to wrap text.
- Keep tables simple for accessibility: one header row, no merged or split cells, no blank rows used for spacing.
How to create a table in Word
Microsoft's insert a table article lists the main methods:
- Quick grid. Select Insert > Table and move the pointer across the grid to highlight the number of columns and rows, then click.
- Insert Table dialog. Select Insert > Table > Insert Table to type exact numbers of columns and rows, useful for anything larger than the grid.
- Convert Text to Table. If your data is already separated by tabs (or commas), select it, then choose Insert > Table > Convert Text to Table > OK.
- Draw Table. Select Insert > Table > Draw Table to draw cell borders freehand. It's rarely the best choice for data, because drawn tables tend to have irregular cells.
Give the table a header row with a short label for each column before you type data. You will mark it as a header row later.
How to move around and type in a table
- Press Tab to move to the next cell and Shift+Tab to go back, as listed on Microsoft's keyboard shortcuts in Word page.
- Pressing Tab in the last cell of the table adds a new row.
- To type a real tab character inside a cell, press Ctrl+Tab.
- Press Enter only when you want a new paragraph inside the same cell.
How to add and delete rows and columns
Click in a cell next to where the change should go, then use the Table Layout tab (labelled Layout in some versions, to the right of Table Design):
- Rows & Columns group: Insert Above, Insert Below, Insert Left, Insert Right.
- Delete > Delete Cells, Delete Columns, Delete Rows or Delete Table.
The same commands appear when you right-click a cell and point to Insert or Delete. Pressing Delete on a selected row clears its text but keeps the empty row; use Delete Rows to remove the row itself. The lesson on adding and removing rows and columns has more practice notes.
To reorder records, use Table Layout > Sort and choose Header row under My list has, so the header stays at the top. Sorting moves whole rows, so each record stays intact.
How to format a table with a table style
A table style formats the whole table in one click (borders, shading, header emphasis), and it keeps every table in a document consistent.
- Click anywhere in the table.
- On the Table Design tab, open the Table Styles gallery and pick a style. Hover to preview it.
- In the Table Style Options group, choose which parts get special formatting: Header Row, First Column, Total Row, Last Column, Banded Rows and Banded Columns.
Banded rows shade alternate rows, which helps the eye follow a row across a wide table. Choose a style with clear contrast between text and shading, particularly for the header row.
Important: the Header Row check box on Table Design only applies the style's header formatting. It does not make the row repeat on new pages. That is a separate setting, covered next.
Size and align the table
- AutoFit (on the Table Layout tab): AutoFit Contents shrinks columns to their content, AutoFit Window stretches the table to the page width, Fixed Column Width stops columns changing as you type.
- Distribute Rows and Distribute Columns make selected rows or columns the same size.
- The Alignment group sets text position inside cells (for example, numbers right-aligned, headings centred).
How to repeat the header row on every page
When a table runs over a page break, the reader on page two can no longer see what each column means. Microsoft's article on how to repeat a table header on subsequent pages gives two ways to fix that.
Using the ribbon
- Select the header row, or several header rows. The selection must include the first row of the table.
- On the Table Layout tab, in the Data group, select Repeat Header Rows.
Using Table Properties
- Right-click in the header row and choose Table Properties.
- On the Row tab, tick Repeat as header row at the top of each page.
- Select OK.
To check, scroll to the second page of the table in Print Layout view (View > Print Layout). The header should appear at the top. To edit it, change the original row on the first page; Microsoft notes that the repeated copies are locked and update automatically.
Why your header row is not repeating
Microsoft's article and Microsoft Q&A answers point to the same short list of causes:
| Symptom | Cause | Fix |
|---|---|---|
| Header shows in print preview but not on screen | You are in Read Mode, Web Layout or Draft view | Switch to View > Print Layout |
| Header stops after one page | A manual page break inside the table | Delete the page break; let Word break the table automatically |
| Option is on but nothing repeats | The table wraps text (it "floats") | Table Properties > Table tab > Text wrapping: None |
| Only some header rows repeat | The rows are not all at the top, or not adjacent | Header rows must be the first rows, one after another |
| Option is greyed out | The selection doesn't include the first row | Select from the first row down |
Tables often start floating when someone drags them by the move handle in the top-left corner. Setting text wrapping back to None, as suggested in this Microsoft Q&A answer on repeating header rows, usually brings the repeat back.
How to stop rows splitting across pages
By default Word can break a tall row in the middle, leaving half a record on each page. To keep each row whole:
- Select the table (or the rows concerned).
- Right-click and choose Table Properties.
- On the Row tab, clear Allow row to break across pages, then select OK.
To number tables ("Table 1", "Table 2"), select the table and choose References > Insert Caption; the guide to captions and cross-references covers this. If a table title or caption ends up on a different page from the table, click the title and turn on Keep with next (Home > Paragraph dialog launcher > Line and Page Breaks).
How to make a table accessible
Screen readers read a table cell by cell and announce column headings as the user moves. That only works when the structure is clear. Microsoft's guide to accessible Word documents recommends:
- A header row, so assistive technology can identify the columns. Tick Header Row on Table Design and mark the row to repeat, as described above. The header rows lesson explains why both settings matter.
- A simple structure. Avoid merged and split cells and tables nested inside tables, which make a screen reader lose track of its position.
- No blank rows or columns for spacing. Use cell padding or paragraph spacing instead.
- Tables for data only, not for page layout.
- Alt text for complex tables, added from Table Properties > Alt Text tab.
Run Review > Check Accessibility to catch tables without a header row.
Mac and Word for the web differences
- Word for Mac uses the same Table Design and Table Layout tabs. Repeat Header Rows sits on the Table Layout tab.
- Word for the web inserts tables from Insert > Table. Microsoft's insert a table article notes that you edit tables from the Table tab in the simplified ribbon, or the Table Design and Table Layout tabs in the classic ribbon. Some row and page settings are desktop-only, so if you can't find Repeat Header Rows in your browser, use Editing > Open in Desktop App and set it there; the setting is kept in the file. See Word for the web vs the desktop app for other differences.
Practise building tables
Table settings are easy to forget until you have used them on a real file. On Word Exercises you practise on real .docx files in your browser, with automatic checks:
- Repeat the header row on a long table (free)
- Fix a data row marked as a header (free)
- Mark a table header for screen readers (free)
- Convert tab-separated text into a table (Pro)
The tables module puts every table skill in order. Tables usually live inside longer documents: the automatic table of contents guide is the hub for this topic, landscape and portrait pages in the same Word document helps with very wide tables, and how to format a report in Word shows where tables fit in a finished report.
Steps in this guide were checked against the Microsoft Support pages linked above for Microsoft 365 Word on 5 November 2026. If a menu has moved or something here is wrong, tell us through the help page.
Related posts
Written by Guccibase; see how these guides are written. Word Exercises is independent and not affiliated with Microsoft. Menu names follow Microsoft 365 as of 2026.